看过 Java 8 HashMap 源码的知道底层数据结构是数组、链表和红黑树实现的,从Debug调试或者序列化输出的都是K,V值,没法直观的看到上述的数据结构,为了直观的看到数据结构存储方面的变化,本文通过动图演示HashMap的结构变化。
为了简单看出链表到红黑树的变化,定义一个方便控制的key来演示效果。
1
2
3
4
5
6
7
8
9
10
11
12
13
14
15
16
17
18
19
20
21
22
23
24
25
26
27
28
29
30
| public class Key implements Comparable<Key>{
private final int hash;
private final int value;
public Key(int hash, int value) {
this.hash = hash;
this.value = value;
}
@Override
public int compareTo(Key o) {
return (value < o.value) ? -1 : ((value == o.value) ? 0 : 1);
}
@Override
public boolean equals(Object o) {
if (this == o) return true;
if (o == null || getClass() != o.getClass()) return false;
Key key = (Key) o;
if (hash != key.hash) return false;
return value == key.value;
}
@Override
public int hashCode() {
return hash;
}
}
|
上面通过 hashCode 直接返回 hash 简单控制值落在数组中的位置,重写的 equals 中通过不同的 value 值保证为不同的 Key,通过 compareTo 比较 value 值,让红黑树可以更直观的展示。
通过下面代码创建一个 hash = 0,value自增的 Key:
1
2
3
4
5
6
7
8
9
10
11
12
13
14
| public static void main(String[] args) throws Exception {
HashMap<Key, Integer> map = new HashMap<>();
int valueSize = 20;
for (int i = 0; i < valueSize; i++) {
clearScreen();
System.out.println("---------------------------------------------");
printTableLength("table.length before put: ", map);
map.put(new Key(0, i), i);
printTableLength("table.length after put : ", map);
print(map);
}
}
|
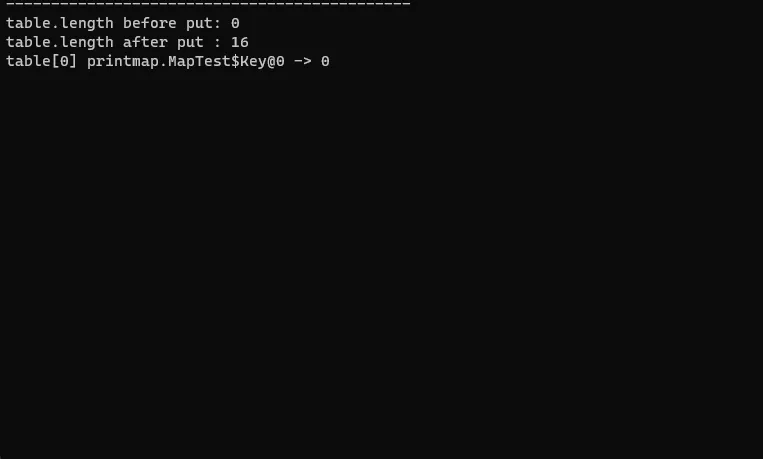
通过 clearScreen() 实现 CMD 清屏的效果,通过 printTableLength("table.length before put: ", map); 打印 HashMap 中 Node<K,V>[] table 数组的长度,当调整长度 resize 时,就会产生变化。通过 print(map) 输出 HashMap 的结构。上述代码执行过程中的关键输出如下:
1
2
3
4
5
6
7
8
9
10
| ---------------------------------------------
table.length before put: 0
table.length after put : 16
table[0] printmap.MapTest$Key@0 -> 0
---------------------------------------------
table.length before put: 16
table.length after put : 16
table[0] printmap.MapTest$Key@0 -> 0 -> 1
---------------------------------------------
省略...
|
下面开始,当链表长度超过8时,会转换树,转换树时会判断 table数组的长度是否超过64,由于此时长度为16,会先通过 resize 扩容来避免hash冲突。
链表长度10的时候,由于数据大小32,会先resize扩容,所以就出现了链表长度为 10 的特殊情况。
1
2
3
4
5
6
7
8
| ---------------------------------------------
table.length before put: 16
table.length after put : 32
table[0] printmap.MapTest$Key@0 -> 0 -> 1 -> 2 -> 3 -> 4 -> 5 -> 6 -> 7 -> 8
---------------------------------------------
table.length before put: 32
table.length after put : 64
table[0] printmap.MapTest$Key@0 -> 0 -> 1 -> 2 -> 3 -> 4 -> 5 -> 6 -> 7 -> 8 -> 9
|
等到下一次的时候,链表长度超过8,数组到了64,链表就转换为了红黑树(树形结构中B为黑,R为红)。
1
2
3
4
5
6
7
8
9
10
11
12
13
14
15
16
17
18
19
20
21
22
23
24
25
26
27
28
29
30
31
32
33
34
35
36
37
38
39
40
| ---------------------------------------------
table.length before put: 64
table.length after put : 64
table[0] printmap.MapTest$Key@0
│ ┌── R:10
│ ┌── B:9
│ │ └── R:8
│ ┌── R:7
│ │ └── B:6
│ ┌── B:5
│ │ └── B:4
└── B:3
│ ┌── B:2
└── B:1
└── B:0
---------------------------------------------
省略...
---------------------------------------------
table.length before put: 64
table.length after put : 64
table[0] printmap.MapTest$Key@0
│ ┌── R:18
│ ┌── B:17
│ │ └── R:16
│ ┌── R:15
│ │ └── B:14
│ ┌── B:13
│ │ └── B:12
│ ┌── R:11
│ │ │ ┌── B:10
│ │ └── B:9
│ │ └── B:8
└── B:7
│ ┌── B:6
│ ┌── B:5
│ │ └── B:4
└── R:3
│ ┌── B:2
└── B:1
└── B:0
|
上图是最终状态的树。下面的动图为完整的慢速执行过程:
想要源码吗? 捐赠留下邮箱稍后即可收到。